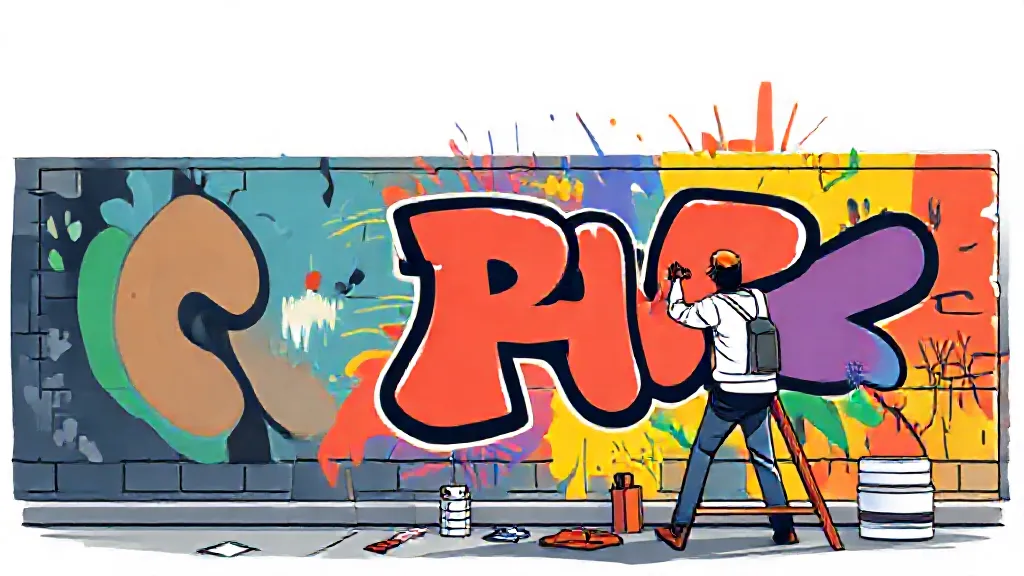
Creating a mural is an exciting and rewarding endeavor that allows artists to express their creativity on a grand scale. Whether you are a seasoned artist or a beginner looking to embark on a new project, understanding the steps involved in mural creation is essential for a successful outcome. This article will guide you through the comprehensive process of creating a mural, from initial concept development to the final touches.
Understanding the Concept and Purpose
Before diving into the physical aspects of mural creation, it is crucial to establish a clear concept and purpose for your mural. Consider the message you want to convey and the audience you aim to reach. Researching the history of murals in your chosen location can provide inspiration and context.
For example, murals in ancient civilizations often depicted religious themes or significant historical events, serving both decorative and educational purposes. Modern murals can range from community art projects to personal expressions, so defining your intent is the first step in the process.
Choosing the Right Location
The location of your mural plays a pivotal role in its impact and accessibility.
Consider factors such as visibility, surface texture, and environmental conditions. Urban areas often provide a wealth of opportunities for murals, as blank walls can transform neglected spaces into vibrant canvases. Additionally, check local regulations and obtain necessary permissions, as some areas may have restrictions regarding public art.
Engaging with the community can also enhance the mural's relevance and acceptance.
Sketching and Planning the Design
Once the concept and location are established, the next step is to sketch and plan your design. This phase involves creating preliminary sketches that capture your vision.
Artists often use digital tools or traditional methods to visualize their ideas. Consider the scale of the mural and how it interacts with its surroundings. For instance, a mural on a large building may require a different approach compared to a smaller, more intimate space.
Gathering feedback from peers or community members can also refine your design before moving forward.
Selecting the Right Materials
Choosing the appropriate materials is crucial for the longevity and vibrancy of your mural. Common materials include acrylic paints, spray paints, and specialized mural paints designed to withstand outdoor conditions.
Additionally, consider the surface you will be painting on; different surfaces may require specific primers or sealants. Researching eco-friendly paint options can also align your mural with sustainable practices, appealing to environmentally conscious audiences.
Preparing the Surface for Painting
Surface preparation is a critical step that often gets overlooked.
Clean the wall thoroughly to remove dirt, grime, and peeling paint. Depending on the surface material, you may need to apply a primer to ensure better paint adhesion and color vibrancy. For outdoor murals, consider using weather-resistant primers and paints that can withstand the elements.
Proper preparation not only enhances the final appearance of the mural but also extends its lifespan.
Executing the Mural: Techniques and Tools
With a well-defined plan and prepared surface, it’s time to execute the mural. Various techniques can be employed, including freehand painting, stenciling, or projecting designs onto the wall for tracing.
Each technique has its own set of tools, such as brushes, rollers, spray guns, or sponges. Artists often work in layers, starting with the background and gradually adding details. Collaboration with other artists or community members can also enrich the process, allowing for diverse styles and ideas to merge.
Final Touches and Maintenance
After the main painting is complete, adding final touches is essential to ensure the mural looks polished. This may involve outlining certain elements, adding highlights, or applying protective coatings to shield the mural from weathering and UV damage. Regular maintenance, including cleaning and touch-ups, can help preserve the mural’s integrity over time.
Documenting the process through photos or videos can also provide valuable insights for future projects and inspire others in the community.
Conclusion: Celebrating Your Mural
Once the mural is complete, it’s time to celebrate your hard work and share your creation with the community. Consider organizing a mural unveiling event, inviting local residents, artists, and media to appreciate the artwork.
This not only fosters community engagement but also highlights the importance of public art in enhancing urban environments. By following these steps, you can create a mural that not only beautifies a space but also tells a story and connects with its viewers.
